
GitHubに作成した環境を公開しています。ぜひご利用ください!
https://github.com/mug-jp/maplibregljs-amazon-location-service-starter
https://github.com/mug-jp/maplibregljs-starter
実行環境
既存のスターターを利用し、Amazon Location Serviceの環境を構築します。ローカル環境にforkまたはダウンロードし動作確認をします。
パッケージをインストールします。
npm install
ローカルサーバーを起動します。
npm run dev
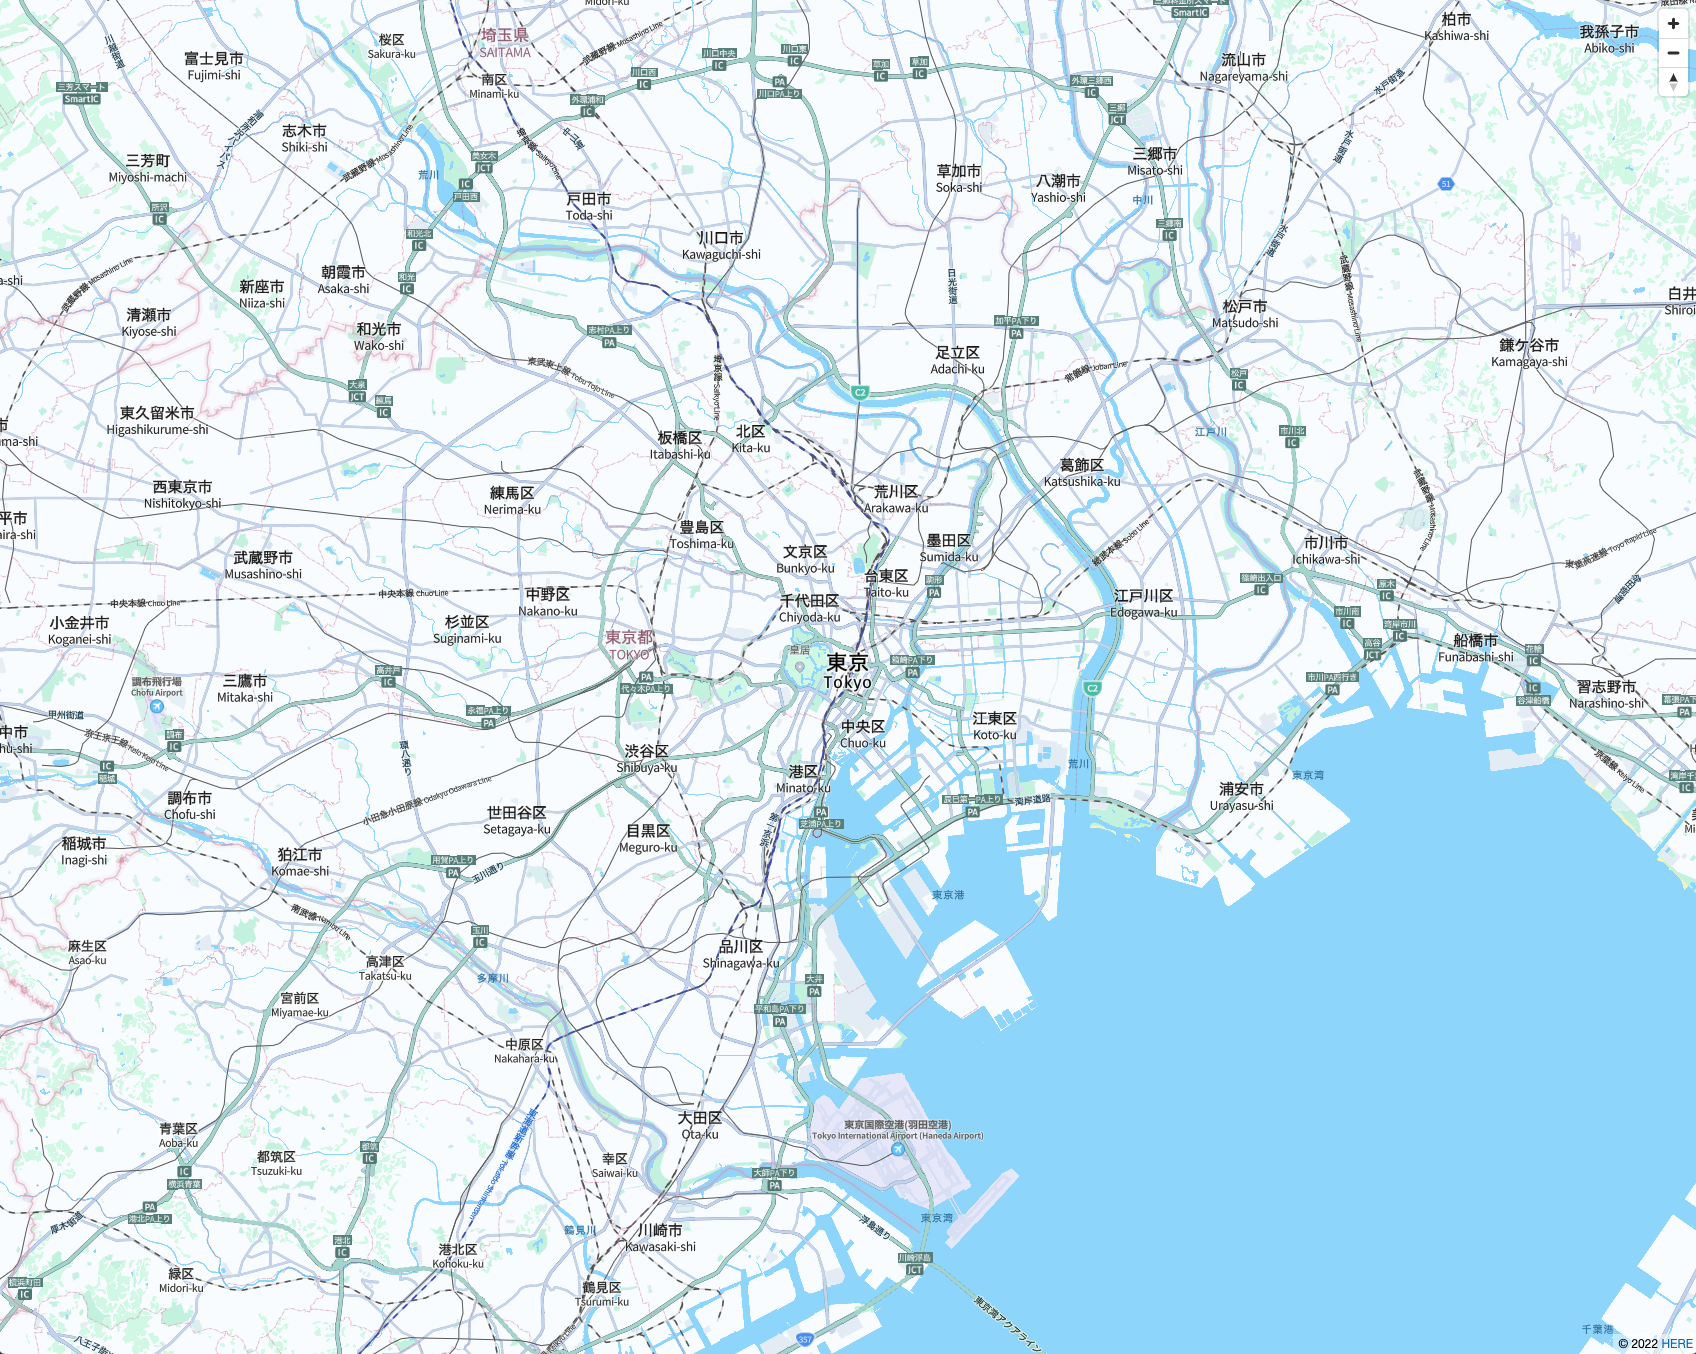
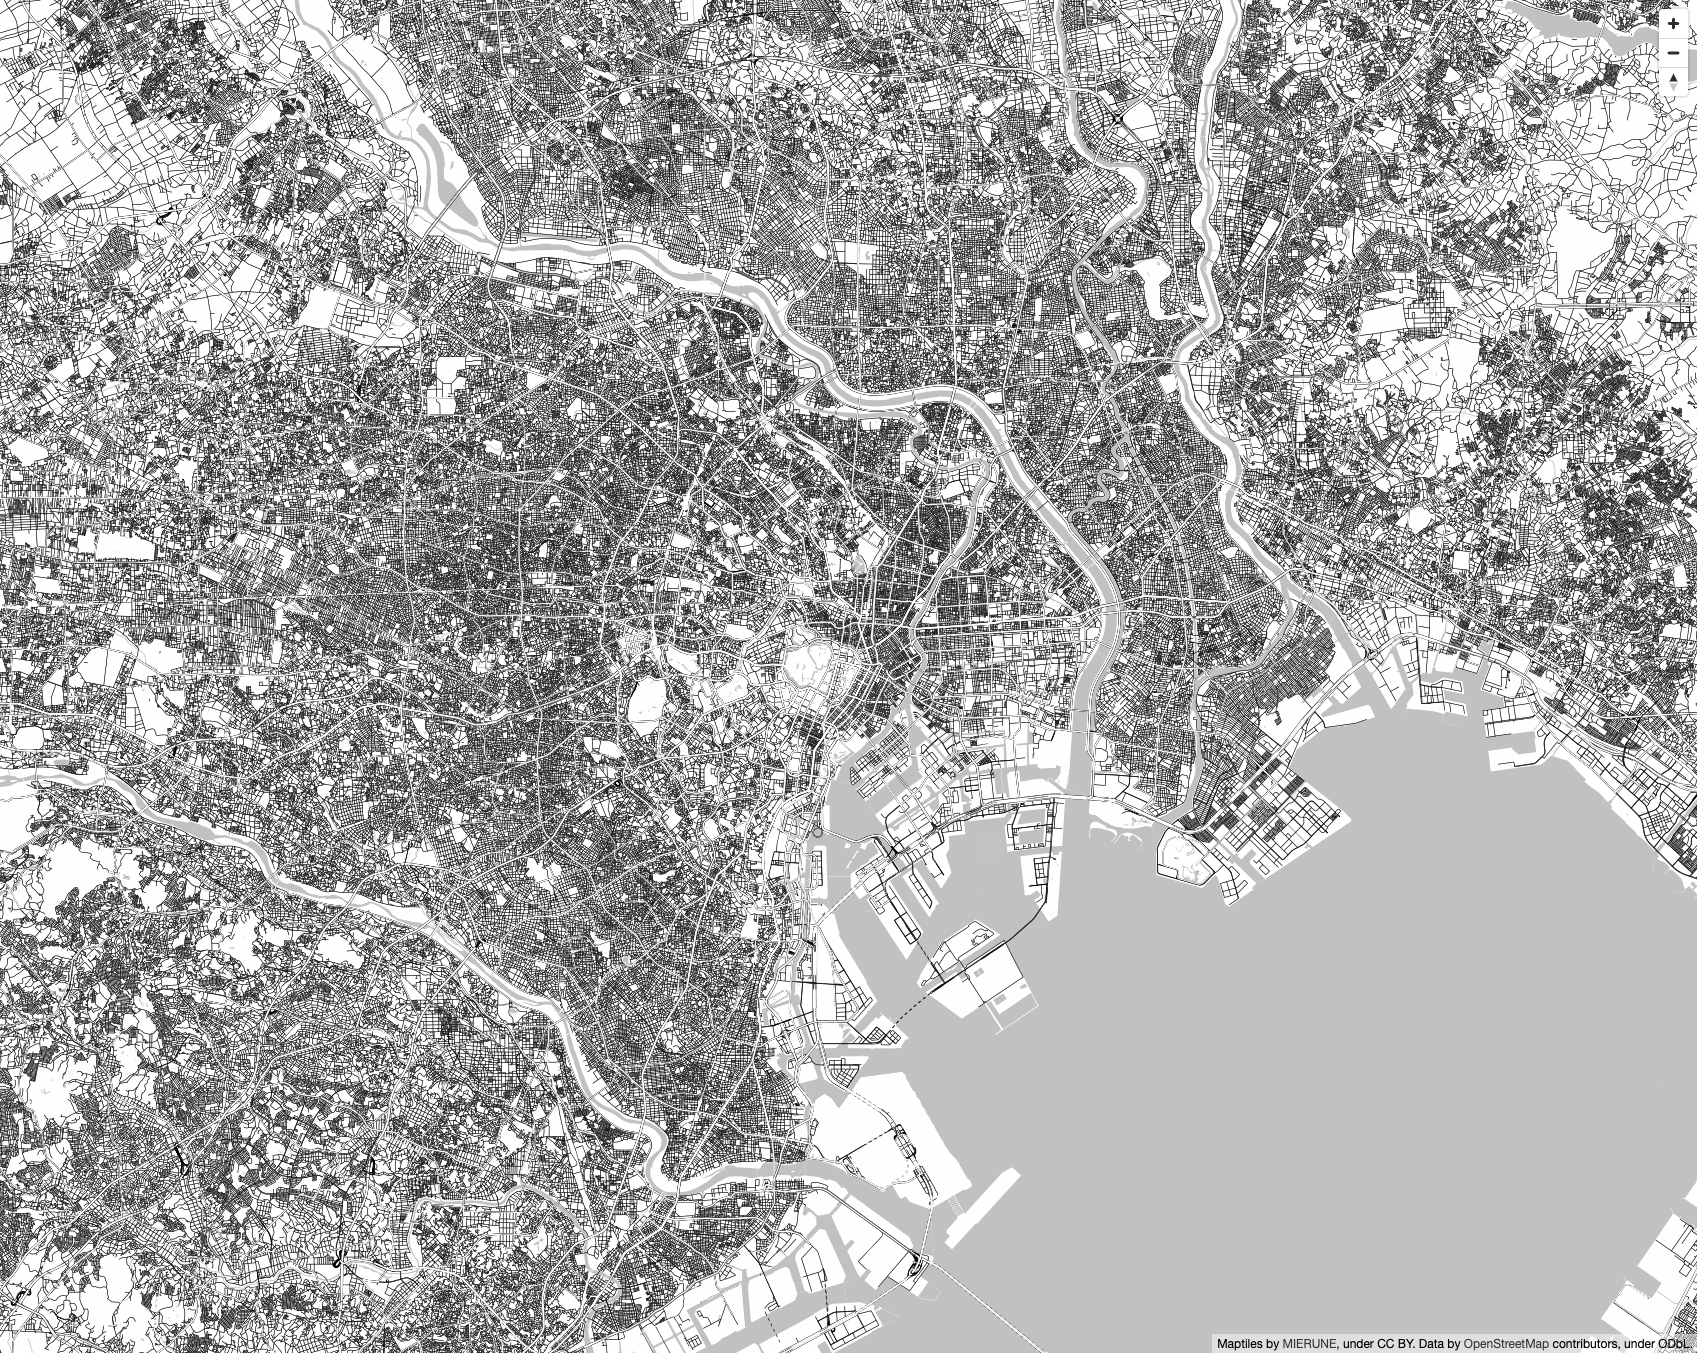
マップが表示されます。
最後に、実際にマップアプリケーションを構築します。スターターから一部のファイル変更をします。
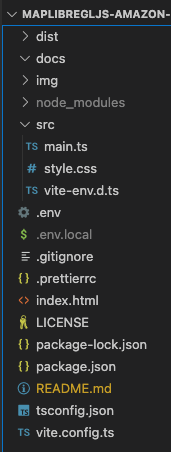
全体構成
{
  "name": "maplibregljs-amazon-location-service-starter",
  "version": "3.3.1",
  "description": "",
  "scripts": {
    "dev": "vite",
    "build": "tsc && vite build",
    "preview": "vite preview"
  },
  "keywords": [],
  "author": "MapLibre User Group Japan",
  "license": "ISC",
  "devDependencies": {
    "typescript": "^5.2.2",
    "vite": "^4.4.9"
  },
  "dependencies": {
    "maplibre-gl": "^3.3.1"
  }
}
事前準備で作成したリージョン・APIキー・マップ名をenvファイルに設定します。
VITE_REGION = xxxxx
VITE_MAP_API_KEY = v1.public.xxxxx
VITE_MAP_NAME = xxxxx
/src
リージョン・APIキー・マップ名をenvファイルから読み込み、StyleをAmazon Location Service用のURLに設定します。
import './style.css'
import 'maplibre-gl/dist/maplibre-gl.css';
import maplibregl from 'maplibre-gl';

const region = import.meta.env.VITE_REGION;
const mapApiKey = import.meta.env.VITE_MAP_API_KEY;
const mapName = import.meta.env.VITE_MAP_NAME;

const map = new maplibregl.Map({
    container: 'map',
    style: `https://maps.geo.${region}.amazonaws.com/maps/v0/maps/${mapName}/style-descriptor?key=${mapApiKey}`,
    center: [139.767, 35.681],
    zoom: 11,
});

map.addControl(
    new maplibregl.NavigationControl({
        visualizePitch: true,
    })
);
ローカルサーバーで確認
npm run dev
Amazon Location ServiceのAPIキー機能とMapLibre GL JSを組み合わせて表示することができました!